
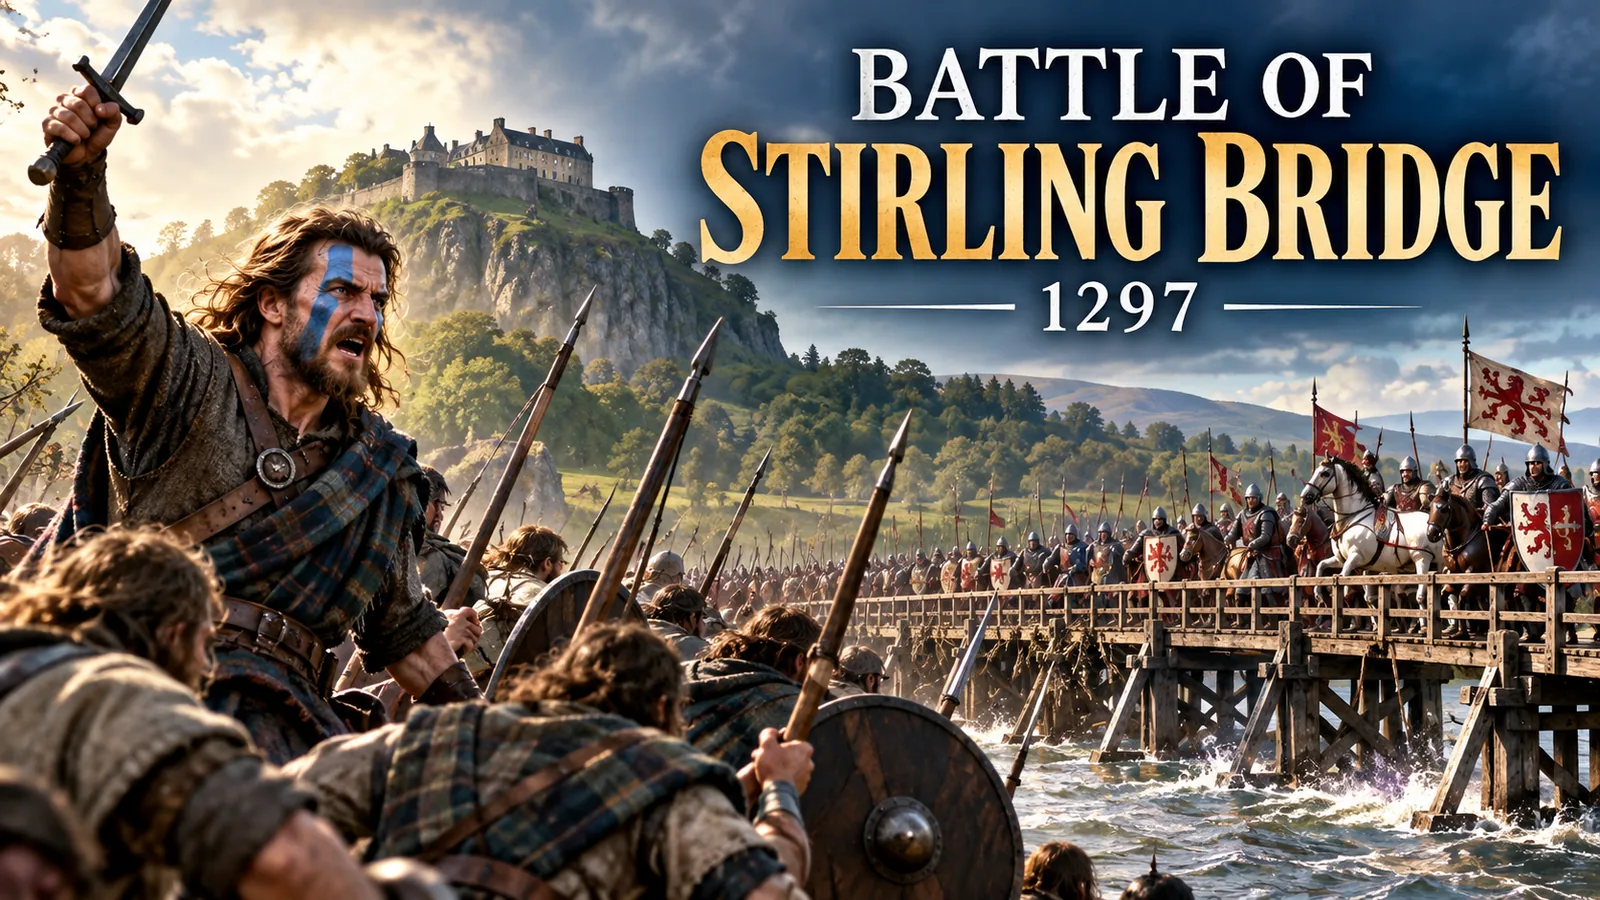
Standing high above Stirling, we can begin to picture the Battle of Stirling Bridge and understand why this crossing mattered so much.
Behind us sits Stirling Castle, guarding one of the most important routes between northern and southern Scotland. Ahead, the River Forth twists across the flat landscape below.
Somewhere beside that river, on 11 September 1297, William Wallace and Andrew Moray prepared to face a powerful English army.
Today, the battlefield is much quieter. Roads and modern buildings occupy parts of the surrounding landscape, while the beautiful stone arches of Stirling Old Bridge cross the Forth.
At first glance, it seems like the perfect medieval battlefield.
But there is something important to understand before we continue our journey.
This is not the bridge Wallace and Moray fought over.
The bridge at the centre of the battle was an earlier wooden structure located nearby.
Once we understand where that bridge stood, the extraordinary Scottish victory at Stirling begins to make much more sense.
Scotland Before the Battle of Stirling Bridge
Our story begins the previous year.
In 1296, Edward I of England invaded Scotland. King John Balliol was removed from power, and Edward attempted to impose English authority over the country.
Resistance soon began to spread.
In southern Scotland, William Wallace emerged as one of the leaders of the rebellion.
Meanwhile, in the north, Andrew Moray was building a successful uprising of his own.
By late summer 1297, Wallace and Moray had joined forces.
An English army commanded by John de Warenne, Earl of Surrey, accompanied by Hugh de Cressingham, Edward’s Treasurer in Scotland, marched north to confront them.
To continue north, the English army needed to cross the River Forth.
Wallace and Moray were waiting.
Looking Down from Abbey Craig
To understand their plan, imagine standing on Abbey Craig, the rocky hill where the National Wallace Monument now rises.
From the higher ground, the Scottish commanders could watch the English army gathering on the opposite side of the river.
Between the two armies stood the Forth.
Across it ran a narrow wooden bridge.
The English possessed the stronger army, particularly in cavalry. But their numerical advantage meant much less if only a limited number of soldiers could cross the river at one time.
Wallace and Moray recognised the opportunity.
Then they did something remarkably disciplined.
They waited.
During the morning of 11 September 1297, English soldiers began crossing the bridge.
More followed.
Still the Scots waited.
They allowed part of the English army to reach the northern side of the Forth while the rest stayed on the opposite bank.
Then Wallace and Moray made their move.
How the Battle of Stirling Bridge Unfolded
Scottish troops advanced against the English soldiers who had crossed the river.
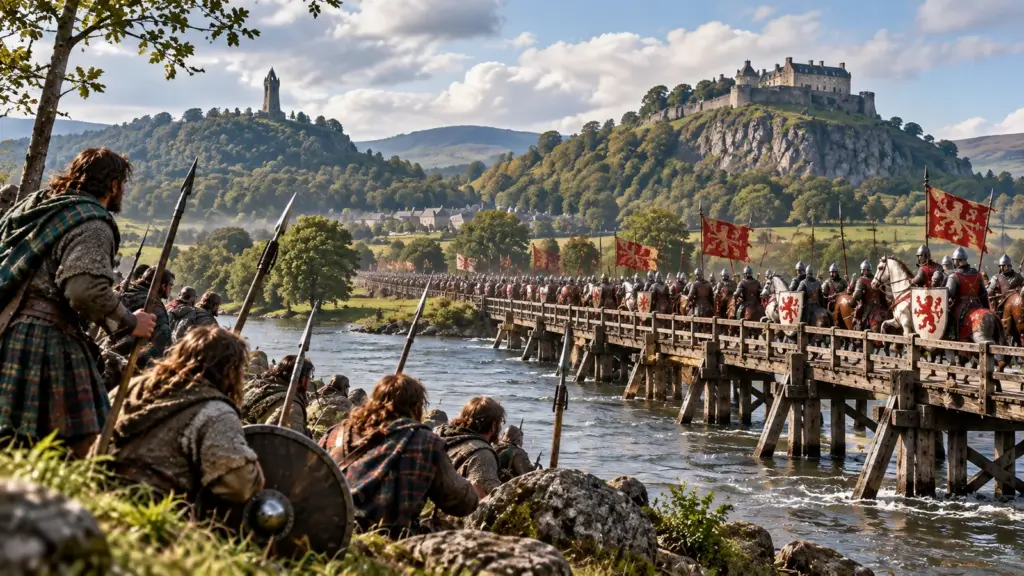
Suddenly, the River Forth was no longer simply an obstacle.
It had become part of the trap.
The English troops on the northern bank were separated from the main army. The narrow bridge behind them restricted reinforcements and made retreat extremely difficult.
Scottish spearmen attacked.
English cavalry found themselves operating on difficult ground, while men attempting to escape crowded back toward the crossing. Others tried to flee through the river.
The battle rapidly became a disaster for the English.
Hugh de Cressingham was among those killed.
On the southern side of the Forth, the Earl of Surrey could do little to rescue the soldiers trapped across the river.
Eventually, the English army withdrew.
Wallace and Moray had achieved one of the most remarkable Scottish victories of the Wars of Independence.
But the victory came at a terrible cost.
Andrew Moray: The Victory’s Other Commander
Andrew Moray was badly wounded during the fighting.
He survived the battle but appears to have died from his wounds later in 1297.
That is an important part of the story because Stirling Bridge is often remembered simply as William Wallace’s great victory.
It wasn’t.
William Wallace and Andrew Moray shared command of the Scottish army.
Moray had already led a successful rebellion against English occupation in northern Scotland before joining forces with Wallace.
Had he survived Stirling Bridge, his name might today be remembered just as prominently.
Instead, Wallace became the great symbol of the victory.
When we remember what happened beside the Forth in September 1297, however, Andrew Moray deserves to stand beside him.
Standing Beside the Forth Today
Walk down toward the river today and the scene feels very different.
The stone arches of Stirling Old Bridge stretch peacefully across the water while, in the distance, the Wallace Monument rises above Abbey Craig.
It is tempting to imagine Wallace charging across this bridge.
That isn’t what happened.
Builders erected the present stone bridge in the late 1400s or early 1500s. Remains upstream mark the probable crossing used in 1297.
Knowing this actually makes visiting the area more interesting.
Instead of concentrating only on the bridge, look at the landscape.
Look toward Abbey Craig.
Follow the course of the river.
Imagine thousands of soldiers attempting to cross a narrow medieval bridge while another army waits on higher ground ahead.
Suddenly, the geography begins telling the story.
Wallace and Moray did not need to defeat the entire English army at once.
They made sure they never had to.
Why Stirling Mattered
Stirling was not simply another Scottish town.
Its location made it strategically vital.
The River Forth created a natural barrier across central Scotland, while Stirling provided one of the most important routes between the Highlands and Lowlands.
Above everything stood Stirling Castle.
Whoever controlled Stirling could influence movement through the heart of Scotland.
That is why the castle, bridge and surrounding landscape should really be explored together.
Standing at Stirling Castle gives you the wider view.
Walking beside the Forth shows you the obstacle facing the armies.
Looking toward Abbey Craig reveals why Wallace and Moray were able to watch the English movements so effectively.
Together, they turn the battle from a story in a history book into something you can actually picture.
William Wallace: From Rebel to Guardian
William Wallace has become one of the most famous figures in Scottish history, although surprisingly little is known with certainty about his early life.
By 1297, however, he had become one of the leaders of resistance against English rule.
His victory alongside Andrew Moray at Stirling Bridge transformed his position.
Following Moray’s death, Wallace became Guardian of the Kingdom of Scotland.
But his story did not end at Stirling.
Edward I would return with another powerful army.
Less than a year later, Wallace would face him again.
This time, the battlefield would be Falkirk.
And the result would be very different.
We explore Wallace’s complete story separately in our William Wallace article, following his rise, his battles and the events that eventually led to his capture and execution in 1305.
What Happened After Stirling Bridge?
Victory changed the rebellion almost overnight.
English forces withdrew from much of Scotland, while Wallace’s reputation grew dramatically.
For a brief period, the momentum had shifted toward the Scots.
But Edward I was not prepared to abandon Scotland.
In 1298, the English king personally led another invasion north.
Wallace now faced a very different challenge.
At Stirling Bridge, he and Moray had used the river and narrow crossing to neutralise English numbers and cavalry.
At Falkirk, Wallace would not have the same advantage.
The confrontation would become one of the defining battles of his life.
Visiting Stirling Bridge
Stirling Old Bridge remains an excellent place from which to explore the battlefield landscape.
Although the surviving stone bridge is not the bridge of 1297, walking beside the River Forth helps explain why the crossing was so strategically important.
For the best experience, combine three locations:
Stirling Castle, Stirling Old Bridge, and the National Wallace Monument on Abbey Craig.
Together, they allow you to see the story from three perspectives — the fortress controlling the region, the river crossing that shaped the battle and the high ground associated with Wallace and Moray’s army.
For current access and visitor information, check the official Historic Environment Scotland information for Stirling Old Bridge before travelling.
Walking Away from the Battlefield
There are battlefields where very little of the original landscape seems to survive.
Stirling is different.
The modern world has changed the area, but the important features are still there.
The river still twists through the landscape.
Abbey Craig still rises above it.
Stirling Castle still dominates the surrounding country.
Stand beside the Forth and look toward the Wallace Monument and it becomes easier to imagine that September morning more than seven centuries ago.
An English army was crossing the river.
Wallace and Moray watched.
They waited.
And when the moment came, they attacked.
Their decision helped change the course of Scottish history.
Where to Next?
Our journey began high above the town at Stirling Castle.
From there we followed William Wallace and Andrew Moray down toward the River Forth and the battlefield of Stirling Bridge.
Now the story moves south.
Edward I is returning to Scotland.
Wallace will have to face the English king himself.
Next stop: The Battle of Falkirk, 1298.
It will be a very different battle.
If you enjoyed travelling through Scottish history with us, please share this article on social media and explore more castles, battles and historic figures here on brianwelsh500.com.