
Less than a year after William Wallace and Andrew Moray shocked England with their victory at the Battle of Stirling Bridge, another English army marched north into Scotland.
This time, however, King Edward I was coming himself.
The victory at Stirling Bridge had transformed Wallace into one of the leading figures of the Scottish resistance. But on 22 July 1298, near Falkirk, he faced a very different battle.
There would be no narrow bridge to trap the English army.
Instead, Wallace would have to face Edward’s cavalry, infantry and archers on open ground.
And this time, Edward had learned from England’s previous defeat.
After Stirling Bridge
The Scottish victory at Stirling Bridge in September 1297 had been devastating for the English.
Wallace and Moray had allowed part of the English army to cross the narrow bridge before attacking. With the river behind them and reinforcements unable to cross quickly enough, the English troops were trapped.
But the victory came at a cost. Moray was wounded and later died.
Wallace emerged as the most prominent leader of the resistance and became Guardian of the Kingdom of Scotland.
If you’ve followed our story through the Battle of Stirling Bridge, Falkirk is where everything changes.
Edward I was determined to restore his authority in Scotland.
In the summer of 1298, he marched north with a large army.
Edward I Comes to Scotland
Edward was an experienced campaigner.
His army contained English and Welsh infantry, archers and heavily armed cavalry. Supplying such a force while moving through Scotland was difficult, however, and Edward needed to find Wallace before shortages became a serious problem.
Wallace appears to have avoided a direct confrontation at first.
That made sense.
Fighting Edward’s army in an open battle carried enormous risks.
Eventually, Edward received information that the Scottish army was near Falkirk.
The search was over.
The two armies were heading toward each other.
Standing on the Battlefield
Imagine standing near Falkirk on the morning of 22 July 1298.
Ahead of you is Wallace’s army.
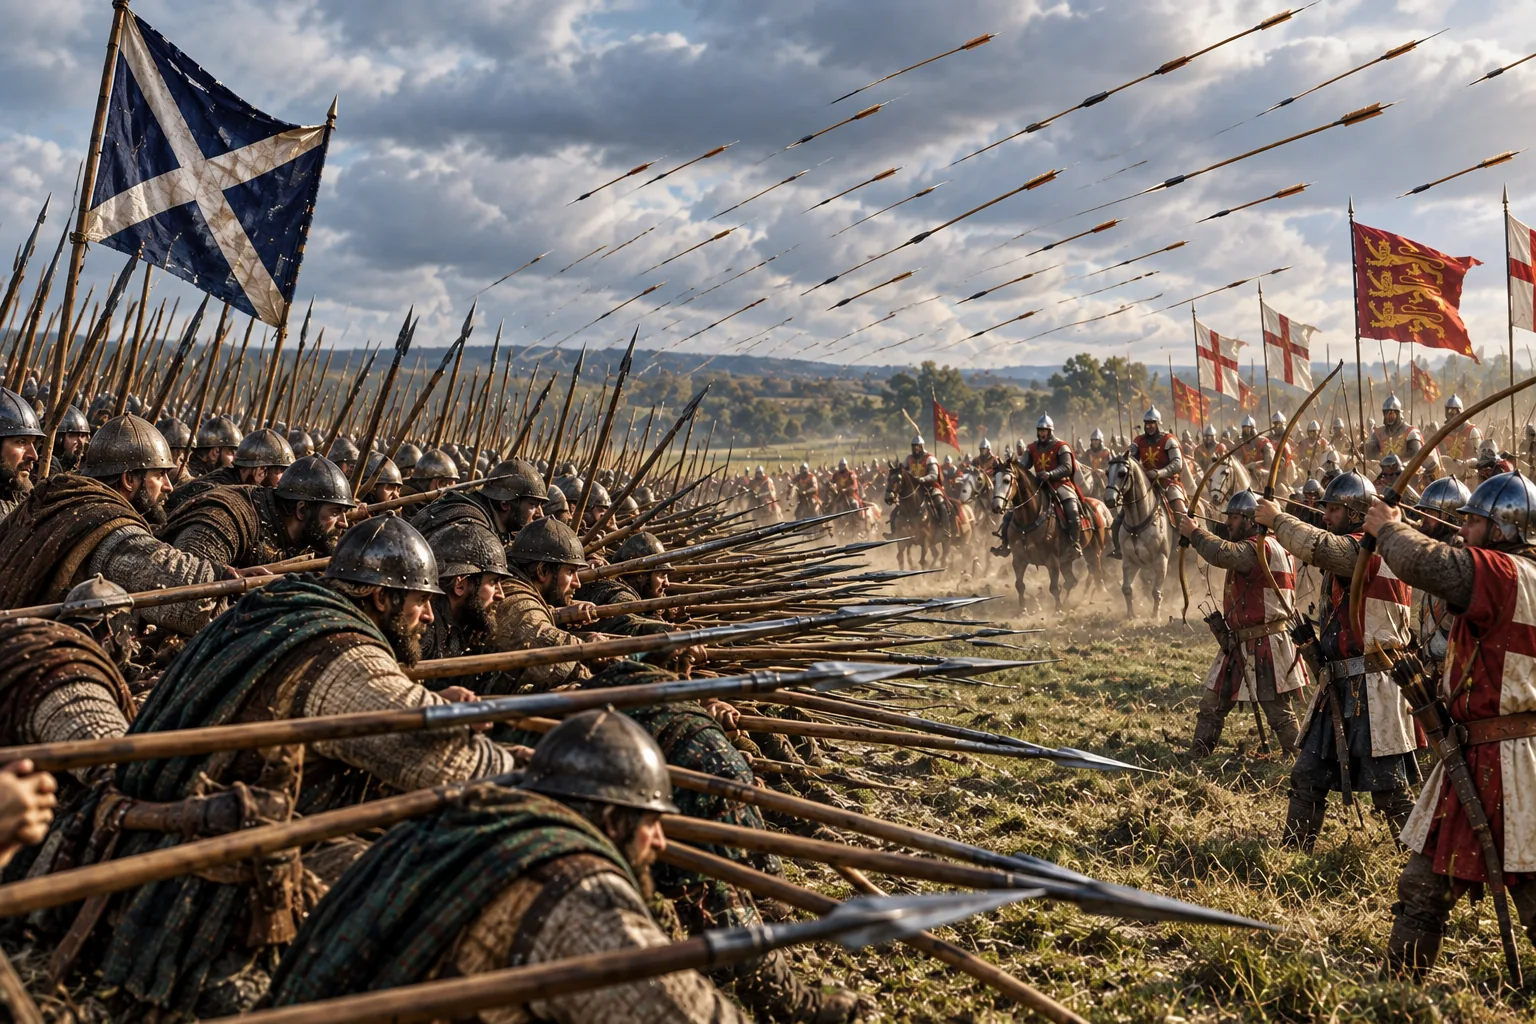
Many of the Scottish soldiers are armed with long spears. Wallace arranges them into large defensive formations usually described as schiltrons.
From a distance, they must have presented a frightening sight.
Ranks of spear points faced outward, creating formations designed to stop cavalry from simply charging through the Scottish line.
There were also Scottish archers and a smaller cavalry force.
Across the field stood Edward’s army.
This was the kind of battlefield where England could use one of its greatest advantages: cavalry, infantry and archers working together.
Wallace needed his formations to hold.
The English Cavalry Attacks
Edward’s cavalry moved against the Scots.
The Scottish spearmen held together.
Charging horses into a dense wall of spear points was extremely dangerous, and the schiltrons demonstrated why they could be so effective against mounted troops.
But holding the formation created another problem.
The Scots were packed tightly together.
They were difficult for cavalry to break, but they also presented a concentrated target.
Edward’s archers could exploit that weakness.
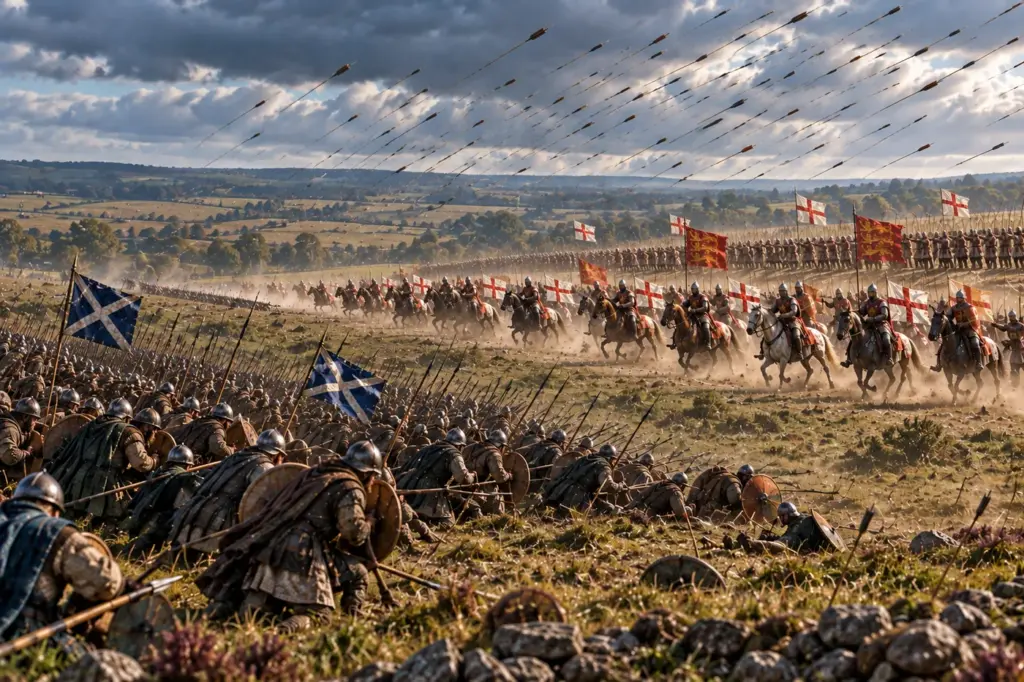
Arrows began falling into the tightly packed Scottish formations.
Men were wounded and killed.
Gaps appeared.
The formations that had resisted the cavalry began to weaken.
The Scottish Line Breaks
Once the schiltrons had been badly disrupted, the English could attack again.
The Scottish formations eventually collapsed.
What had begun as an organized defensive position turned into defeat.
Many Scots were killed as Edward’s forces took control of the battlefield.
Wallace survived and escaped.
The exact numbers involved in the battle—and the number of men killed—remain uncertain. Medieval accounts often disagree, so enormous casualty figures sometimes associated with Falkirk should be treated cautiously.
What isn’t in doubt is the result.
Edward I had won a major battlefield victory.
What Went Wrong for Wallace?
Falkirk wasn’t simply a case of Scottish spearmen being unable to withstand English cavalry.
In fact, the schiltrons initially demonstrated that disciplined spearmen could resist mounted attacks.
The greater problem was that Wallace’s army couldn’t adequately protect those formations from sustained archery and the attacks that followed.
The battlefield also lacked the geographical advantage Wallace and Moray had exploited so brilliantly at Stirling Bridge.
At Stirling, the English had been forced through a narrow crossing.
At Falkirk, Edward had room to use his archers, cavalry and infantry together.
The contrast between the two battles is striking.
At Stirling Bridge, Wallace helped dictate how the English fought.
At Falkirk, Edward did.
Wallace After Falkirk
The defeat damaged Wallace’s position.
Not long afterwards, he gave up the Guardianship of Scotland.
But Falkirk was not the end of either Wallace’s story or Scotland’s struggle.
Wallace continued to support the Scottish cause and later travelled abroad seeking assistance.
Edward, meanwhile, had won the battle but had not solved his Scottish problem.
Resistance continued.
Within a few years another Scottish leader would rise to the centre of the struggle.
His name was Robert the Bruce.
Visiting Falkirk Today
Unlike Stirling Castle or many of the medieval fortresses we’ve visited in this series, Falkirk doesn’t offer a surviving medieval battlefield frozen in time.
The landscape has changed considerably over more than seven centuries, and historians have debated the precise location and extent of the battlefield.
That actually makes Falkirk interesting to visit.
You’re not looking at castle walls telling you where history happened.
Instead, you have to imagine the landscape.
Somewhere around this area, thousands of men gathered on a July day in 1298 while two very different armies prepared to fight.
And somewhere among them stood William Wallace, facing perhaps the greatest military challenge of his life.
Why the Battle of Falkirk Matters
Falkirk demonstrated something important about medieval warfare.
Strong formations of spearmen could stop cavalry—but those formations also needed protection from archers.
Edward was able to combine different parts of his army far more effectively than the English commanders had managed at Stirling Bridge.
For Wallace, the battle became one of the defining defeats of his career.
Yet Scotland wasn’t conquered simply because Edward won at Falkirk.
The Wars of Scottish Independence continued.
That is why Falkirk shouldn’t be viewed as the end of the Wallace story.
It is better understood as a turning point.
Stirling Bridge showed what Wallace could achieve.
Falkirk showed the scale of the enemy he was fighting.
Where to Next?
We’ve now followed William Wallace from the extraordinary Scottish victory at Stirling Bridge to the very different battlefield at Falkirk.
But Scotland’s fight was far from finished.
Another figure was about to move to the centre of the story: Robert the Bruce.
Following Bruce will eventually take us to one of the most famous battles in Scottish history—the Battle of Bannockburn.
That’s where our journey through Scotland’s struggle for independence will continue.
If you enjoyed exploring the Battle of Falkirk, please share this article on social media and explore more castles, battles and historical stories here on brianwelsh500.com.